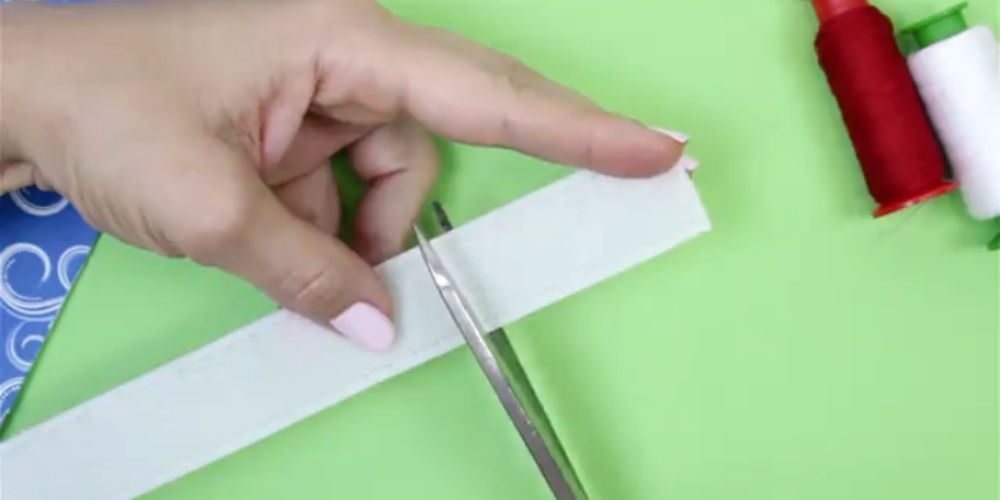
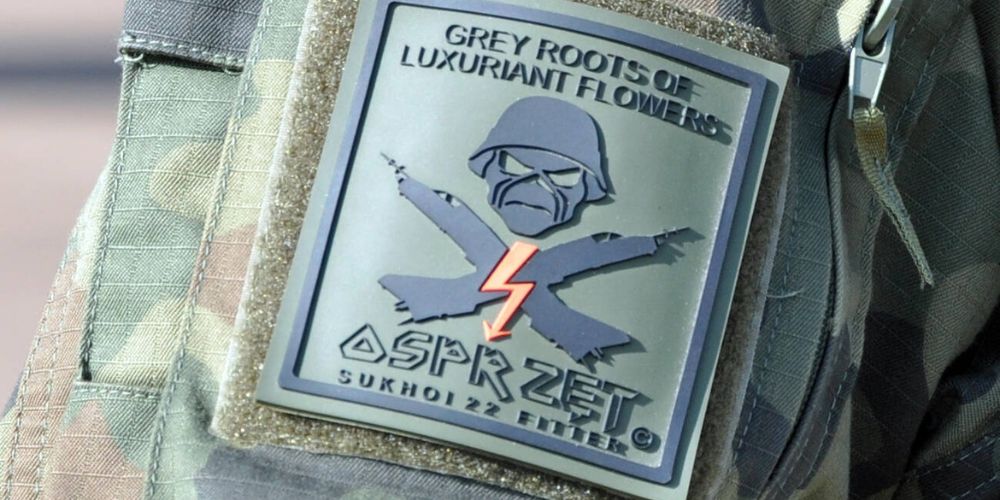
Velcro patches can be affixed to apparel, equipment, and accessories. You may customize jackets, purses, uniforms, and other items with detachable and interchangeable personalized patches and labels. For the patch to remain attached for an extended period of time, proper sewing is essential. Proper sewing is essential to prevent patches from coming off after only a few uses. In order to guarantee a polished and long-lasting finish, this Xpress Patches tutorial will take you step-by-step through the Velcro patch sewing procedure. Knowing how to sew on Velcro patches can save you time and money when customizing apparel or equipment.
What is a Velcro Patch?

Attaching your personalized patches to a variety of objects, including jackets, caps, backpacks, bags, and more, is easy and adaptable with a Velcro patch. Attaching and removing your patch is easy with the Velcro backing, which offers convenience and durability. Velcro patches offer a firm grip and durable performance, making them suitable for personalizing equipment for tactical, military, or personal use.
Learn “How Velcro Patches Make Branding and Team Identification Easy”
What is a Velcro Loop?
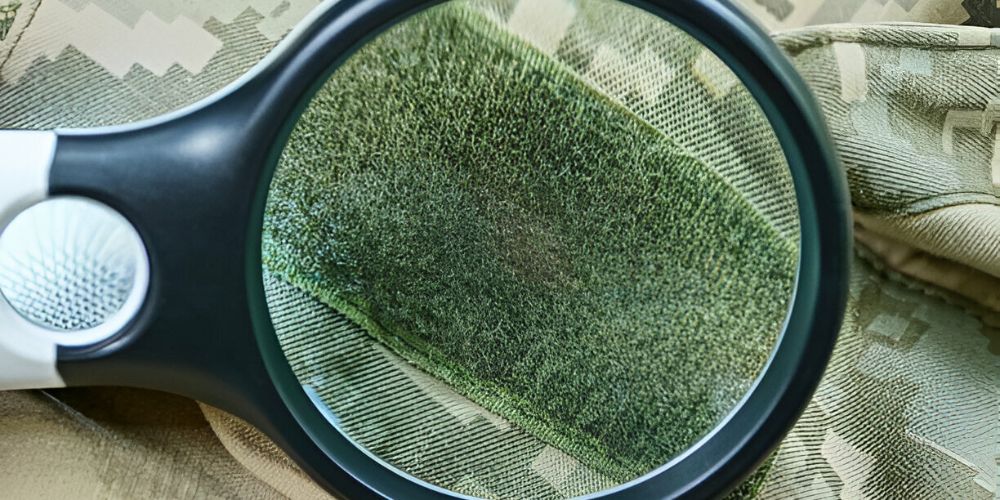
One essential part of the Velcro fastening mechanism is the Velcro loop. This portion of the Velcro backing enables your patch to firmly adhere to the Velcro’s loop side. The patch depends on the loop to cling securely to your clothes, equipment, or accessories; therefore, it wouldn’t stay in place without it. The Velcro loop guarantees a strong and durable fastening for your patch.
Also Read: Custom Patches: The Ultimate Handbook for Unique Branding and Self-expression
Types of Velcro Patches
It’s important to consider the different types of Velcro patches available and select the one that suits your needs best. Velcro loop patches, adhesive Velcro patches, embroidered Velcro patches, and the classic hook and loop patches are all available. There are many different options available. Look through the selection to locate the ideal Velcro patch for your unique logo or design. There are numerous varieties to select from, each with certain advantages of its own.
Also Read: Differences between Embroidered Patches, Dye Sublimation Patches and Woven
1. Velcro Hook Patches
First, there are the classic Velcro hook patches, which have loops on one side and tiny hooks on the other. These patches are widely used and, when fastened to a matching Velcro strip, provide a firm grip.
2. Velcro Loop Patches
Another kind is the Velcro loop patch, which is surrounded by a soft Velcro loop edge. These patches are perfect for giving the design crisp edges that give it a polished, expert appearance. Because of their precise shape and range of available shapes, Velcro loop patches are frequently preferred by paintball, airsoft, and sports teams.
3. Adhesive Velcro Patches
Adhesive Velcro patches are available for those seeking a more versatile solution. There is no need for sewing or extra embroidery supplies and equipment because the sticky backing of these patches sticks straight to the fabric. Any article of clothing or fabric can be affixed with adhesive Velcro patches, which are simple to apply.
Also Read: Boost Brand Awareness & Team Spirit with Custom PVC Morale Patches
4. Embroidered Velcro Patches
Finally, there are Velcro patches that are stitched. The design is stitched directly onto the patch base fabric using an embroidery machine to create these patches. High-quality craftsmanship is provided by embroidered Velcro patches, which can be created with elaborate patterns and unique hooks.
Also Read: The Process Behind Creating Custom Chenille Patches at Xpress Patches
Benefits of Using Velcro Patches
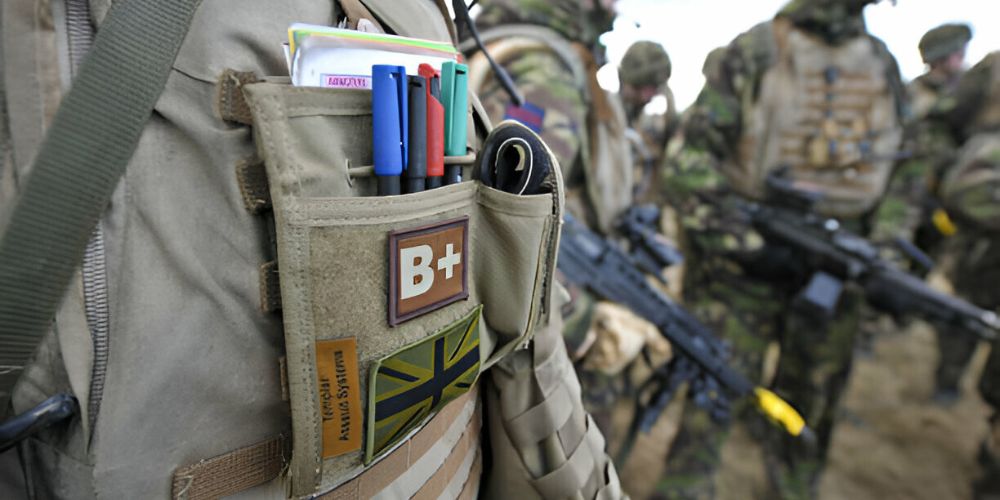
Velcro patches are a versatile and functional way to attach and detach embroidery patches to clothing, bags, and hats. Velcro patches offer easy customization, as they can be swapped out or removed when needed.
- Convenience: Easily remove or reapply patches without damaging the fabric.
- Customization: Available in various designs, sizes, and colors to suit individual preferences.
- Versatility: Attach Velcro patches to a wide range of items, including clothing, hats, bags, and gear.
- Durability: Strong and long-lasting attachment that withstands frequent use.
- Flexibility: Perfect for teams or organizations that need to switch patches for events or affiliations.
Also Read: Chenille Embroidery Production Techniques
Materials needed for Sew On Velcro Patches
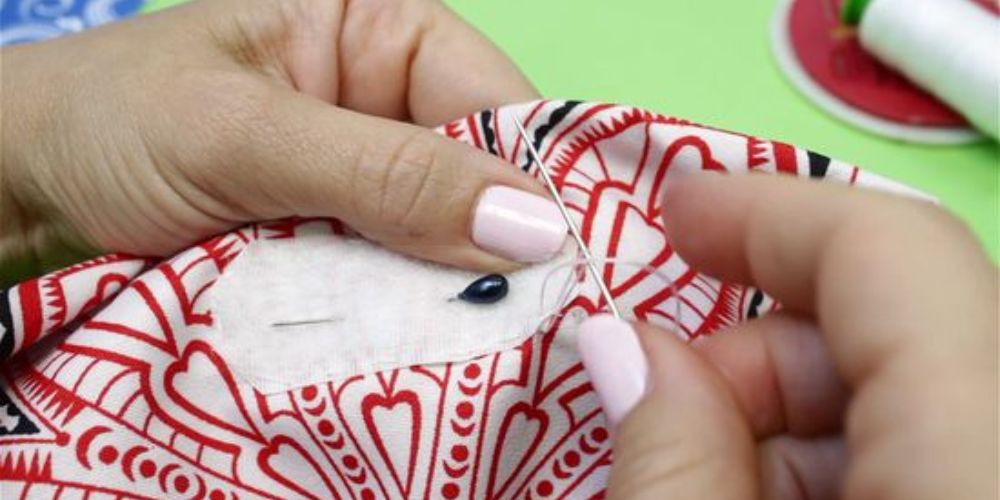
Velcro patches are a popular choice among individuals and groups, particularly airsoft, paintball, and sports teams, due to their versatility on various clothing items. Overall, Velcro patches offer a convenient and versatile solution for patch enthusiasts.
The following materials are required to sew on your Velcro patch:
- Velcro Patch: Ensure that the Velcro patch matches the right size and shape for your project.
- Fabric: The item you want to attach the patch to.
- Needle: A heavy-duty needle, especially for thick fabrics.
- Thread: Durable thread that matches the fabric or patch color.
- Pins: To keep the patch from shifting while sewing.
- Scissors: For trimming thread and fabric.
- Sewing Machine (Optional): For faster and more precise stitching.
Also Read: How to Properly Attach Iron-On Patches to Clothes
Sewing Methods
- Basic Stitch: The running stitch is a fast fix. First, insert the needle into the fabric. Through the fabric, draw the needle downward. Ensure that the stitches are spaced uniformly.
- Whip Stitch: Use the whip stitch for a stronger stitch. Make tiny diagonal stitches all over the edges of the Velcro patch. This will establish a solid grip.
- Machine Stitch: If you prefer using a sewing machine, select a straight stitch setting. Sew along the edge of the patch with precision to ensure a secure attachment. Remember to backstitch at the beginning and end for added reinforcement.
Also Read: Top 10 Creative Uses for Professionally Designed Embroidered Patches by Xpress Patches
Design Process for Sewing on Velcro Patches
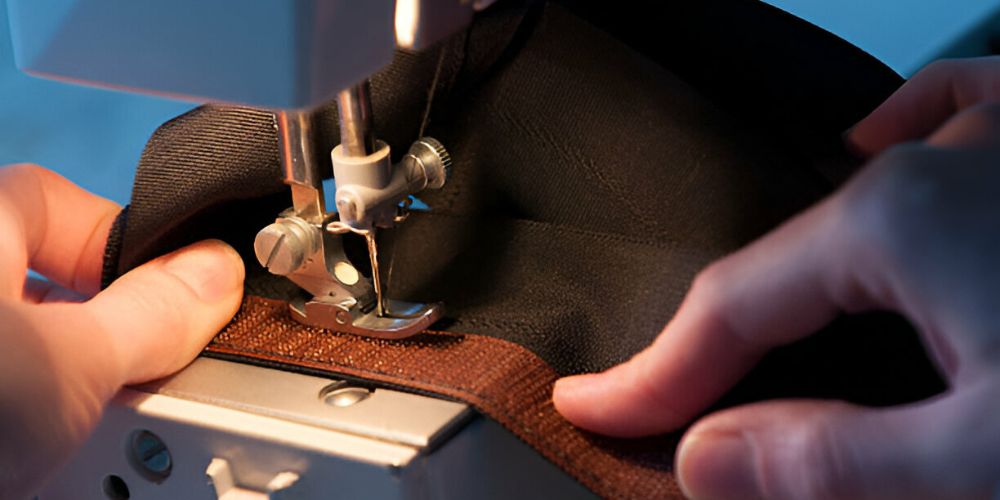
To add Velcro to embroidery patches, follow these steps: Determine the desired size and shape, cut the Velcro strip using a hot knife, activate the adhesive by heating water, and place the strip on the patch.
Determine the desired size and shape, cut the Velcro strip using a hot knife, activate the adhesive by heating water, and place the strip on the patch.
Apply firm pressure to ensure a secure bond before removing the Velcro strip from the water. This process ensures a secure and professional-looking result, allowing you to easily sew on Velcro patches and enjoy their versatility and functionality.
Also Read: Iron-On vs Velcro Patches: Which is Best for Your Application?
How To Sew On Velcro Patches
Step 1: Prepare Velcro Patches and Fabric
Before sewing, make sure the Velcro patch fits perfectly on the fabric to avoid any issues during the sewing process.
- Trim the Velcro patch if necessary to ensure it fits perfectly on the fabric.
- Determine which Velcro side has the hook and which has the loop.
- Place the hook side on the fabric for attachment.
If you are utilizing individual hook-and-loop pieces instead of a patch, keep in mind which side you are using. The fabric should be facing the rough hook side. Once joined, the soft loop side will be visible.
Also Read: The Ultimate Guide to Custom Croc Jibbitz and Shoe Charms
Step 2: Positioning the Velcro Patch on Fabric
You can temporarily fix your patch by using pins. Make sure it is centered when you first place it on the fabric. If you are concerned about it shifting, a little fabric glue will help. Once the patch is properly positioned, sewing it on is simpler and appears more polished.
Step 3: Threading the Needle
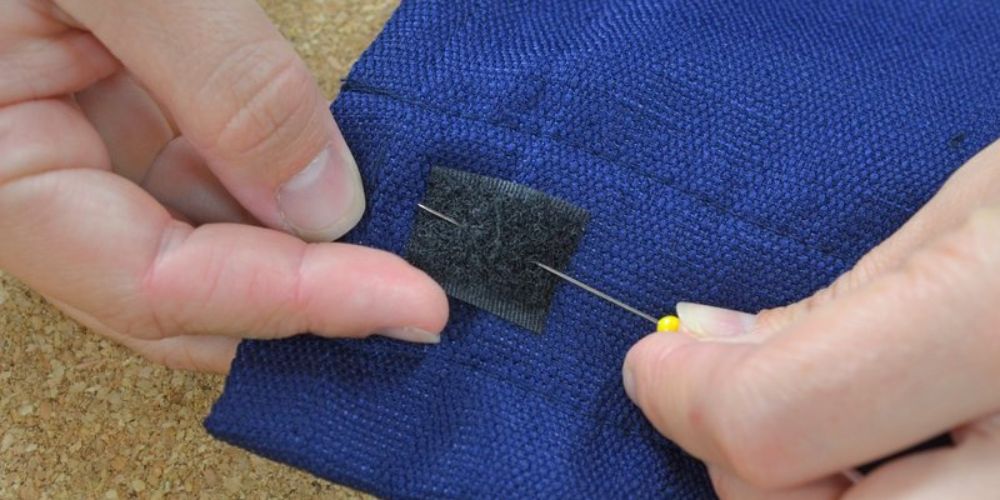
For hand sewing, use 18 to 24 inches of sturdy thread. It is easy to maneuver because of its length. To secure it, tie a knot.
Step 4: Sew the Patch
Start by inserting your needle into the fabric before beginning to sew. Stitch near the edge first. Make sure your stitches stay around the patch’s edge. If the stitches are tidy and near to the edge, the patch won’t lift when utilized.
Step 5: Sew Around The Entire Patch
As you sew, keep your stitches close to the Velcro patch’s edge. Make sure every stitch goes through both the Velcro and the fabric. It will be securely fastened. Sew all the way around the patch until it’s covered.
Take your time and stitch carefully to guarantee consistent stitching. Sewing carefully and taking your time will produce more polished results.
Step 6: Secure Thread
After stitching the Velcro patch, secure the thread to prevent unraveling. To knot the thread, first run the needle over some stitches. This will prevent unraveling. Cut off the excess thread using scissors.
If you are hand sewing, this is the final step.
Step 7: Check for Attachments
Before you finish, pull the Velcro patch to make sure it stays in place. If any portion is loose, add more stitches. The patch should be securely fastened and not come off.
If you are using a sewing machine, use the straight stitch setting. Select “straight stitch” on your machine. Sew the edge of the Velcro patch. Your stitches should be close to the edge. To make sure your stitches are secure, backstitch their ends.
Step 8: Cleaning Up and Final Check
If there are visible flaws in the stitching, hand-stitch over the affected areas to correct the problem.
Also Read: PVC Patches vs. Embroidered Patches: Which One is Right for You?
Sewing Advice for Velcro Patches
1. For heavier fabrics, use a thicker needle.
For heavier materials like leather or denim, use a heavy-duty needle. Stitching will be simpler, and harm will be avoided.
2. Machines for sewing are quick and accurate.
For consistency and speed, add a lot of Velcro patches using a sewing machine. Sewing machines are quicker than sewing by hand and provide straight stitches.
3. Complement the color of the thread
Use thread that is nearly the same color as the Velcro or fabric. This will create a cleaner appearance and lessen the visibility of the sutures.
4. Strengthen The Corners
The patch’s corners will gradually rise higher. To strengthen, add more stitches. Every corner will be secured.
5. Do Not Tighten Your Stitches Too Much
When stitching by hand, avoid pulling the thread too firmly. If you pull the thread too tightly, the patch may get distorted or the fabric may become bent. Aim for taut stitches. To secure the Velcro in place without causing any harm to the cloth, the stitches should be sufficiently tight.
Also Read: How to Make Dye Sublimation Patches DIY
Master the Art of Sewing Velcro Patches with Ease!
Using proper techniques is vital for the successful sew on Velcro patches to clothing, bags, or fabric items. With the right materials and our step-by-step instructions, your patches will stay secure and last a lifetime. Whether you sew by hand or use a sewing machine, patience and careful stitching ensure a polished and functional result.

