Chenille embroidery is a luxurious and timeless style known for its plush, textured designs and eye-catching patterns. Its uniqueness lies in its intricate production techniques, which alter simple threads into works of art. This blog explores the process of creating custom chenille patches, providing insights for hobbyists, professionals, and those curious about the behind-the-scenes of this unique style.
What Kind of Machine Do You Need to Make Chenille Patches?
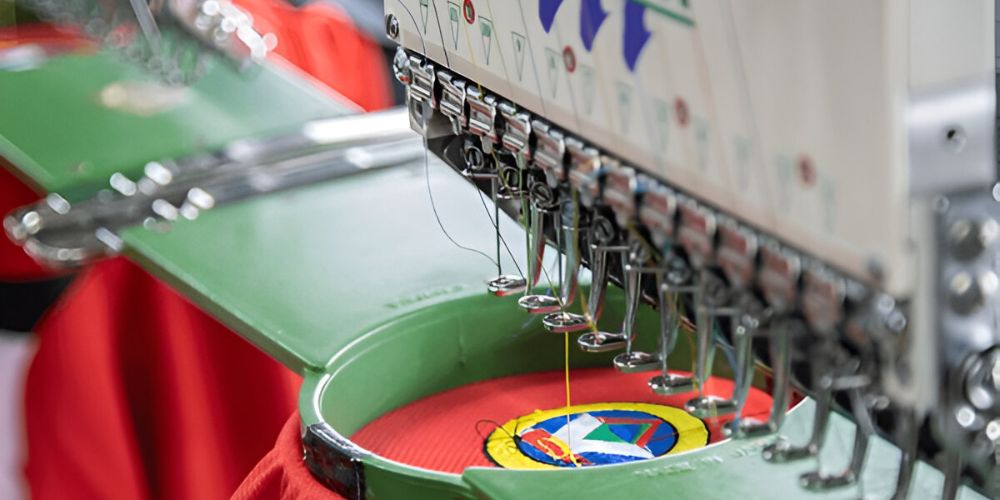
To produce chenille patches, specialized chenille embroidery machines are required. These machines are designed to create the looped, fuzzy texture characteristic of chenille patches. Unlike standard embroidery machines, chenille machines use chain stitches to form the unique texture and often work alongside software for precision in designs.
Embroidery vs. Chenille Stitching
Unlike traditional embroidery, chenille stitching focuses on volume and texture. The unique raised loops created during this process are not only visually appealing but also add a tactile element to your patch. Our state-of-the-art equipment ensures that even complex designs retain their clarity and charm.

Production Techniques
Chenille embroidery machines use specialized production techniques to create textured, raised embroidery designs, primarily using a loop or chain-stitch method. These machines and their production techniques are distinct from traditional embroidery due to their ability to produce a fuzzy, plush texture. Here are the key chenille embroidery production techniques:
1. Chain Stitch
The machine uses a specialized looper to create interlocked loops in the embroidery thread. This is the foundation of chenille embroidery, giving it a soft, textured appearance. Ideal for filling areas with texture or for outlining shapes in designs.
2. Loop Stitch
The machine creates loops on the surface of the fabric without securing them tightly, resulting in a fluffy, three-dimensional effect. Often used for creating patterns that require a fur-like or plush finish. Popular in mascot or decorative embroidery.
3. Moss Stitch
A variation of the loop stitch where the loops are more uniform and denser, resembling moss. This technique is commonly used for filling large design areas with a consistent texture. Adds depth to backgrounds or large sections of embroidery.

4. Mixed Technique Embroidery
Modern chenille machines often have dual functionality, combining chenille stitching with flat embroidery or sequin stitching. This allows intricate designs that mix textured elements with precise, smooth stitches. Used in high-end apparel, varsity jackets, or promotional items.
5. Dual Thread Control
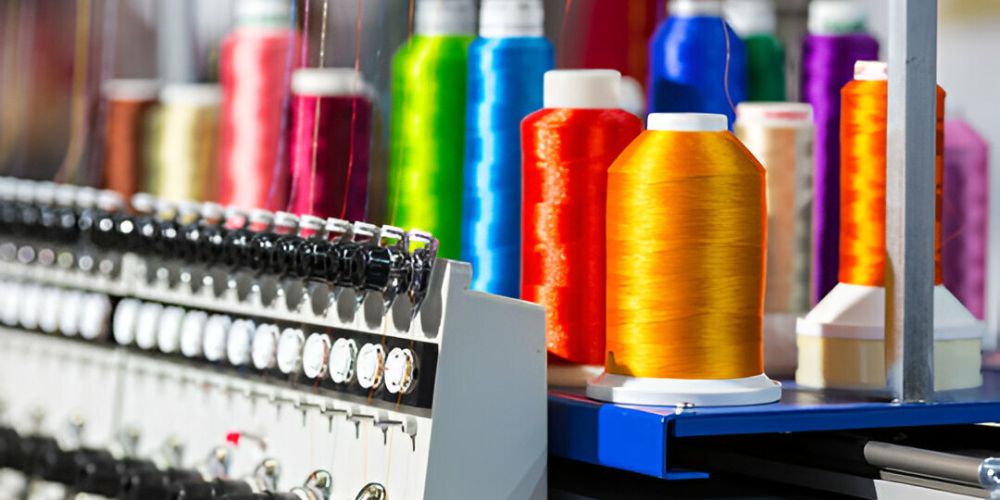
Chenille machines can handle multiple thread types, such as wool, cotton, or acrylic, ensuring versatility in texture and color. Different threads create variations in the density and plushness of the embroidery. Enables intricate designs with varied textures.
6. Multi-Needle Functionality
Modern chenille machines have multiple needles to alternate between colors or thread types without manual intervention. Enables complex designs with multiple colors and textures. Used for creating logos, emblems, or decorative patterns on garments.
7. Appliqué Integration
The machine sews the appliqué (fabric pieces) onto the base material, using chenille stitches to secure and decorate it. Adds dimension and detail to designs while saving time and thread. Common in large designs for jackets, bags, and home textiles.
8. Digitization and Design Control
Designs are created and digitized using software compatible with chenille embroidery machines. The software allows precise control over stitch placement, loop size, and density. Essential for creating detailed, high-quality embroidery designs.
9. Layering Techniques
Chenille machines can layer different stitches or textures on top of one another for a multi-dimensional effect. This technique is used to add complexity and richness to designs. Found in luxury apparel or artistic embroidery pieces.
10. Fabric Compatibility
Chenille machines adjust stitch tension and density to suit various fabrics, such as fleece, velvet, or cotton. Ensures designs are durable and visually appealing across different materials. Commonly used in garments, home décor, and accessories.
Considerations:
Chenille designs generally work better on larger scales due to the thickness of yarn and stitching methods. Hence, avoid sharp angles and small sizes. Use cutaway backing for large designs and combine with standard embroidery for detailed designs.
How to make chenille patches stay on?
Clean, flatten, and position the patch carefully using measuring tools and pins. Then, secure the patch in place by stitching around the edges with a sewing machine or by using fabric glue for a more temporary hold.
Various application methods include:
- Ironing: Quick for heat-activated glue.
- Sewing: Most durable option.
- Gluing: Easy but not long-lasting.
- Double-Sided Tape: Temporary and convenient.
- Velcro: Best for interchangeable patches.
Match the method to the patch material, size, and position. Consider the durability needed for the patch and choose the application method accordingly. For long-lasting results, sewing is typically the best option, while ironing may be sufficient for temporary or decorative patches.
Also read: Iron-On vs Velcro Patches: Which is Best for Your Application?
Can you use a heat press on chenille patches?
To apply chenille patches with a heat press, follow these steps:
- Prepare the Surface: Ensure the garment or fabric is clean and wrinkle-free.
- Set the Heat Press: Adjust the temperature to the recommended setting (typically 320–340°F) and set the pressure to medium.
- Position the Patch: Place the chenille patch in the desired location with the adhesive side facing the fabric.
- Protect the Patch: Cover it with a heat-resistant sheet (like Teflon) to prevent scorching.
- Apply Heat: Press the heat press down firmly for 15–20 seconds.
- Cool and Check: Allow the patch to cool for a few seconds before checking its adherence. Repeat if necessary for stronger bonding.
For delicate fabrics or heavily textured materials, test the process on a small area first to avoid damage.
Ready to order your first custom chenille patch?
Chenille embroidery production techniques are widely valued for their ability to produce rich, textured designs, making them a preferred choice for logos, patches, and decorative apparel. Their versatility and efficiency stem from the unique stitching methods and advanced features of modern machines. At Xpress Patches, we use advanced chenille embroidery machines to produce each patch. These machines specialize in creating the looped stitches that give chenille its fuzzy appearance.
Our experienced team guarantees that each patch is crafted with precision and attention to detail, resulting in a high-quality finished product. Contact us today to start creating your custom chenille patch!


